
Ginger is one of those magical roots that can elevate any dish, brew a comforting cup of tea, and even add a healthy kick to your smoothies. But did you know you can easily grow ginger in pots at home? Whether you’re a skilled gardener or just starting, growing ginger in containers is surprisingly simple and extremely rewarding.
I’ll share 20 tips to turn you into a ginger-growing pro in this guide. By the end, you’ll know everything you need to grow your fresh ginger at home, no matter how much space you have. Let’s start in!
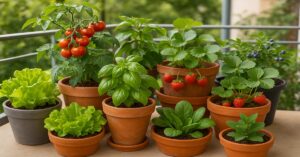
Why Grow Ginger in Pots?
First, talk about why you’d want to grow ginger in pots. The beauty of using pots is that they give you complete control over the growing environment. You can move them to a sunny spot, protect them from extreme weather, and ensure the roots are well-drained. Plus, pots are perfect for those without a garden — even if you live in an apartment, you can still grow ginger on your balcony or windowsill!
1. Choose the Right Pot for Ginger
When growing ginger in pots, the size and material of the pot matter more than you might think. Ginger loves space so that a small pot won’t cut it.
- Size: Aim for a pot at least 12-14 inches deep and 14-16 inches wide. Ginger grows horizontally, so it needs plenty of room to spread out.
- Material: Both plastic and terracotta pots work well, but make sure your pot has drainage holes to prevent waterlogging, which ginger hates.
2. Use the Right Soil
Ginger loves rich, well-draining soil that retains moisture. Here’s what you need:
- A high-quality potting mix is a great base. If you can, add some organic compost or peat moss to enrich the soil and make it even more suitable for ginger.
- Well-draining soil is crucial — ginger dislikes sitting in waterlogged conditions.
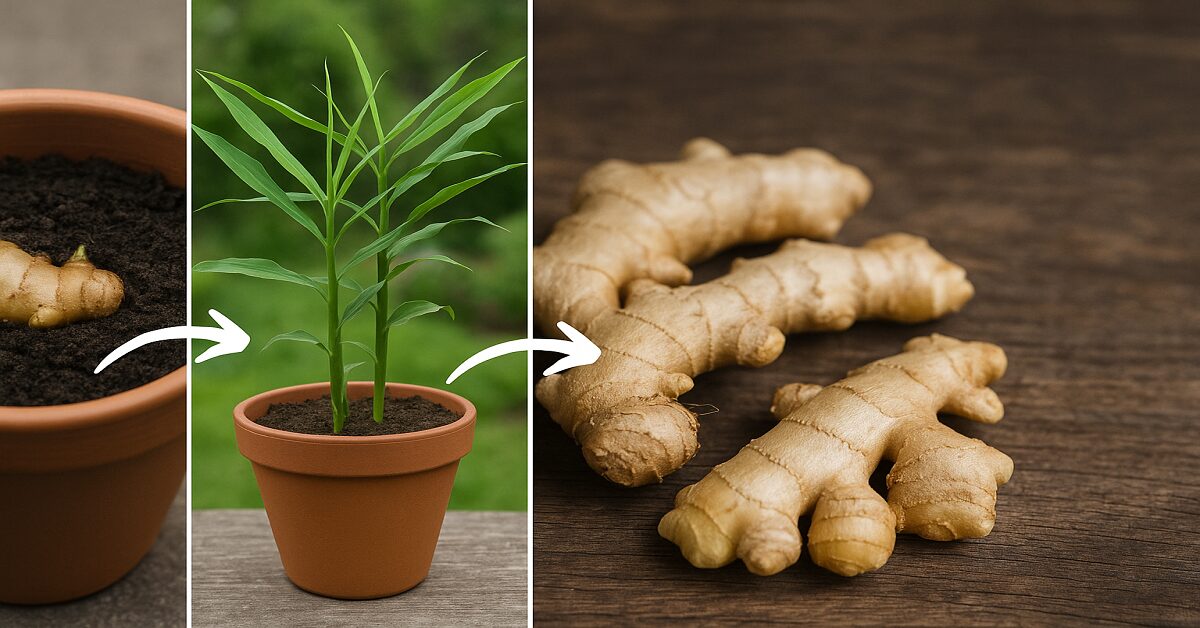
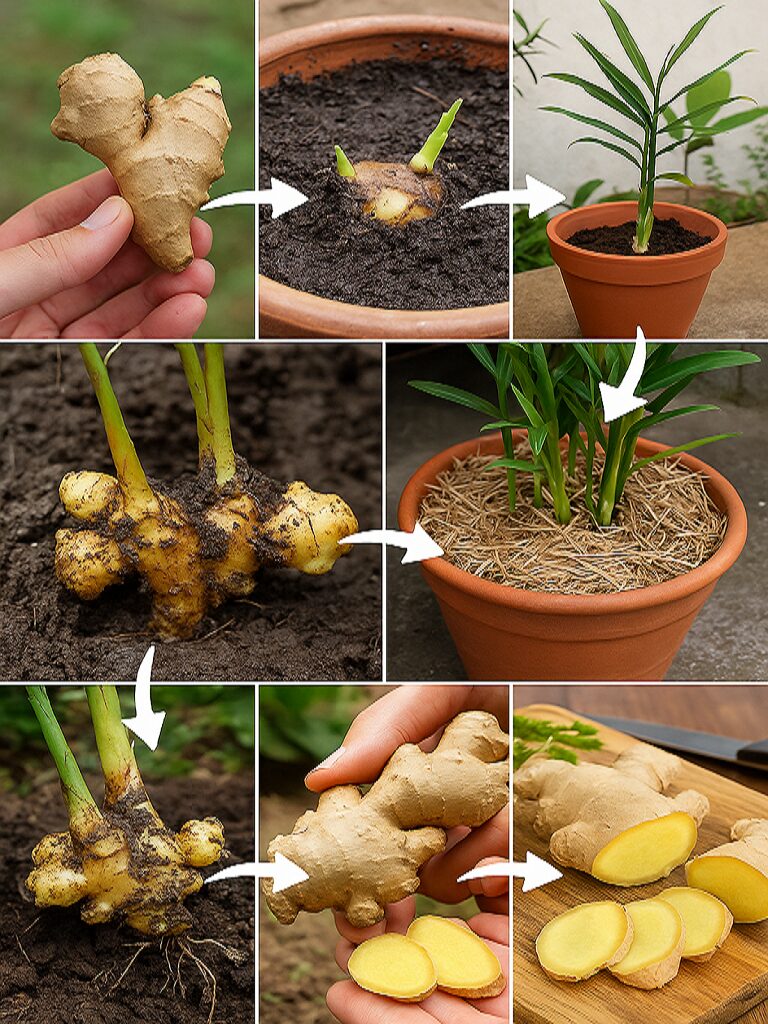
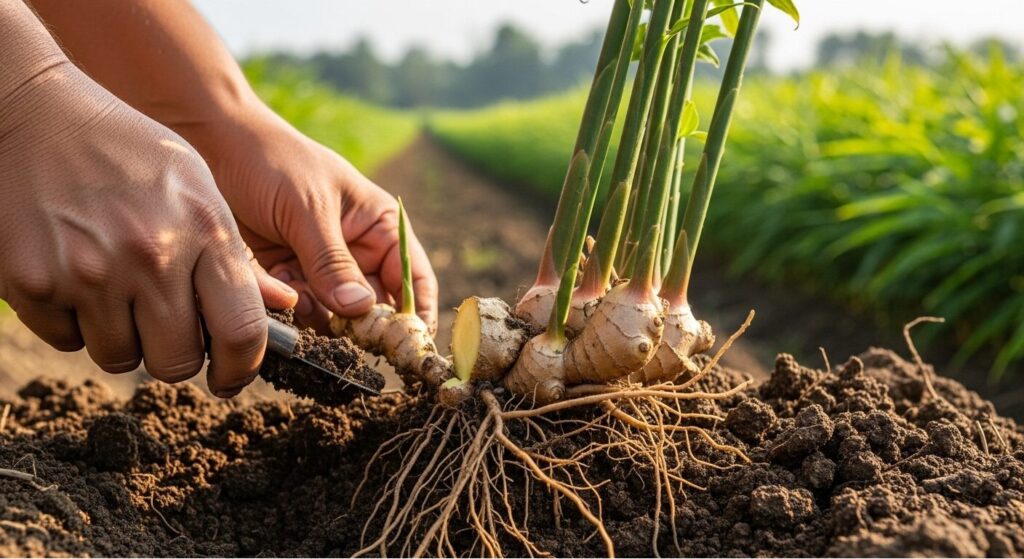
3. Pick a Healthy Ginger Rhizome
The ginger plant grows from its rhizome (root), so the quality of your rhizome is essential.
- Look for plump, firm rhizomes with visible buds or eyes — these are the little growth points where new shoots will sprout.
- If buying from a grocery store, ensure the rhizomes aren’t dried or shriveled.
4. Soak the Rhizome Before Planting
Before you plant your ginger, give it a little head start:
- Soak the rhizome overnight in warm water to help jump-start the sprouting process. This also helps remove any dormant growth.
5. Plant the Rhizome with the Buds Facing Up
This is one of the most straightforward steps, but crucial for success:
- Put the rhizome in the soil with the buds facing upwards.
- Plant it about 2-3 inches deep to give it enough room to sprout.
6. Find the Perfect Spot for Your Pot
Ginger loves warmth, so it’s essential to place your pot in a good location:
- Temperature: Ginger thrives between 70-85°F (21-29°C). It loves warmth but not direct hot sun, so a spot with indirect sunlight is perfect.
- Location: If you’re growing it indoors, put your pot near a window that gets some natural light. Outdoors, choose a shaded area with a few hours of sun each day.
7. Water Regularly, But Don’t Overdo It
Ginger likes moist soil, but it doesn’t want to be soggy.
- Water it regularly, but ensure the soil is well-drained. If the top inch of the soil feels waterless, it’s time to water.
- Bypass overwatering — ensure the pot has proper drainage to prevent root rot.
8. Add Mulch for Moisture Retention
To keep your ginger happy and hydrated, mulch is your friend:
- Mulch assists in retaining moisture and keeps the soil temperature stable.
- Use organic mulch like straw, wood chips, or shredded leaves. Just spread a thin layer over the soil, and you’re good to go!
9. Feed Your Ginger Regularly
Just like any plant, ginger needs regular nutrients to thrive:
- Provide it with a balanced liquid fertilizer every 4-6 weeks.
- You can also use organic compost to keep your plant healthy and provide steady nutrients.
10. Be Patient – Ginger Takes Time to Grow
Growing ginger takes time, but it’s worth the wait. It will take about 8-10 months from planting to harvest.
- Be patient and let the plant grow until the leaves begin to yellow and die back, which signals that the rhizomes are ready for harvest.
11. Space Is Key – Ginger Needs Room to Grow
Ginger doesn’t like being cramped. So, whether you’re growing it in one pot or multiple pots, give it enough room:
- Allow the rhizomes to spread out in the soil without crowding each other.
- You can even plant multiple rhizomes in the same pot if they have space.
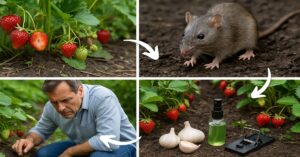
12. Watch Out for Pests
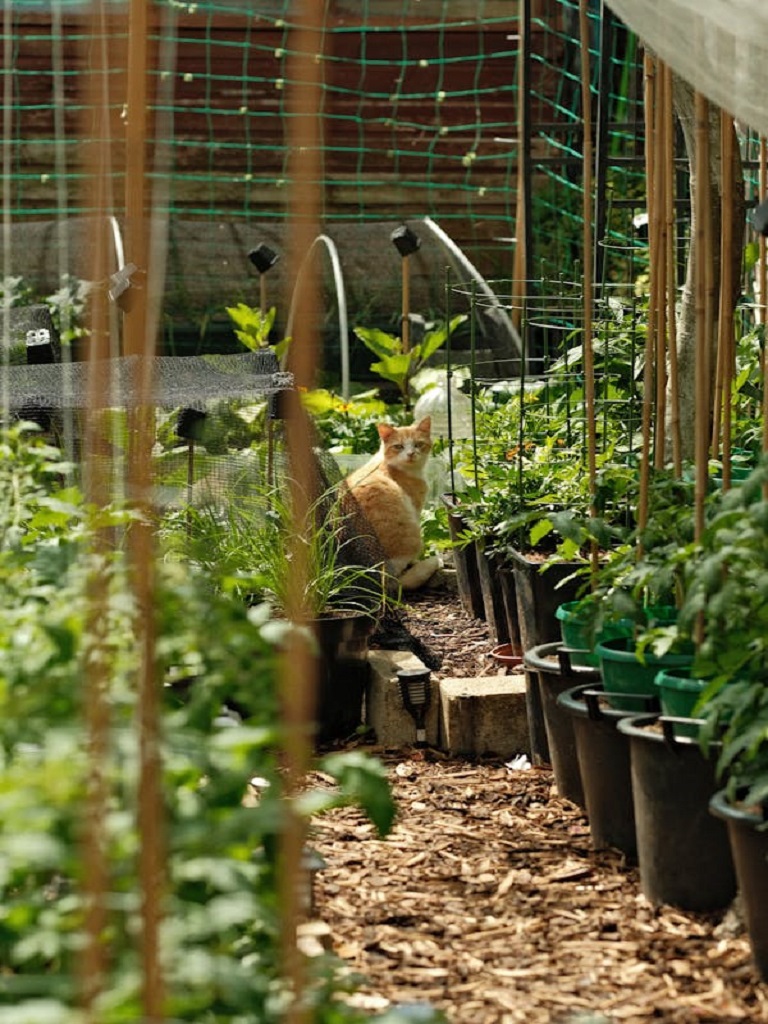
Ginger is pest-resistant but can still fall victim to bugs like aphids or spider mites.
- Inspect your plant regularly for pests, especially under the leaves.
- If you notice any, spray them with neem oil or insecticidal soap to keep them in check.
13. Prune When Necessary
Pruning your ginger can help it grow stronger:
- Cut back any yellowing or dead leaves to allow more energy toward healthy growth.
- Be careful not to cut too much at once — leaves are essential for photosynthesis.
14. Rotate the Pot for Even Growth
Ginger loves sunlight, but it doesn’t always get even exposure when it’s stuck in one position.
- Rotate the pot every week to ensure all plant parts get adequate light.
- This will help it grow more evenly and prevent it from leaning toward one side.
15. Increase Humidity for Best Results
Ginger thrives in a humid environment. If you live in a dry area, you can increase humidity by:
- Use a humidifier near your plant.
- Putting your pot on a tray filled with stones and water increases the moisture around the plant.
16. Know When to Harvest
Knowing when to harvest your ginger is key to getting the best flavor and size.
- Stay until the leaves turn yellow and die back. This typically happens around 8-10 months after planting.
- Harvest a small portion to keep your plant growing, or pull up the whole rhizome if ready to use it.
17. Harvest Ginger Gradually
If you want your ginger plant to keep growing, don’t pull all the rhizomes at once:
- Harvest only what you need by carefully digging around the rhizomes and removing a small section.
- Leave the remaining rhizomes in the soil to continue growing.
18. Replant Rhizomes for Continuous Growth
After harvesting, replant any rhizomes you didn’t use to keep the cycle going.
- Plant the leftover rhizomes back into the same pot or a new one and watch them grow again.
19. Consider Outdoor Planting for Warmer Climates
If you live in a tropical or subtropical climate, you can grow ginger outdoors, where it will likely thrive even more.
- Plant ginger directly in the soil if you have a warm garden. Just make sure the soil drains well.
20. Enjoy Your Homegrown Ginger!
Once your ginger is fully grown, enjoy the fruits of your labor. Fresh ginger is incredibly fragrant and more flavorful than anything you can purchase in the store.
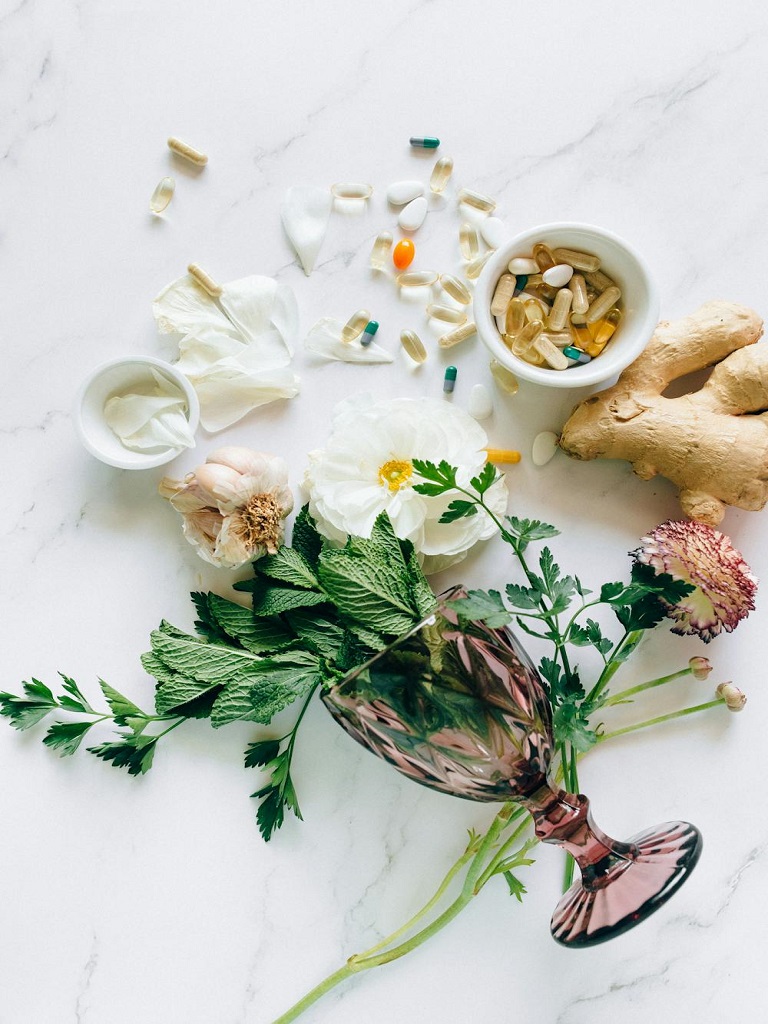
- Use it in teas, stir-fries, baked goods, smoothies, or medicinal purposes.
Related: How to Grow Avocados at Home for a Never-ending Supply
Final Thoughts on Growing Ginger in Pots
Growing ginger in pots is comfortable, rewarding, and worth the effort. By following these 20 simple tips, you’ll be well on your way to developing your fresh ginger right at home.
Whether for cooking, tea, or skincare, you can now enjoy the tasty and aromatic benefits of your ginger harvest!
Do you have any tips for growing ginger? Drop them in the comments below! And for more gardening advice, check out more articles here on Homezille. Happy planting!
