
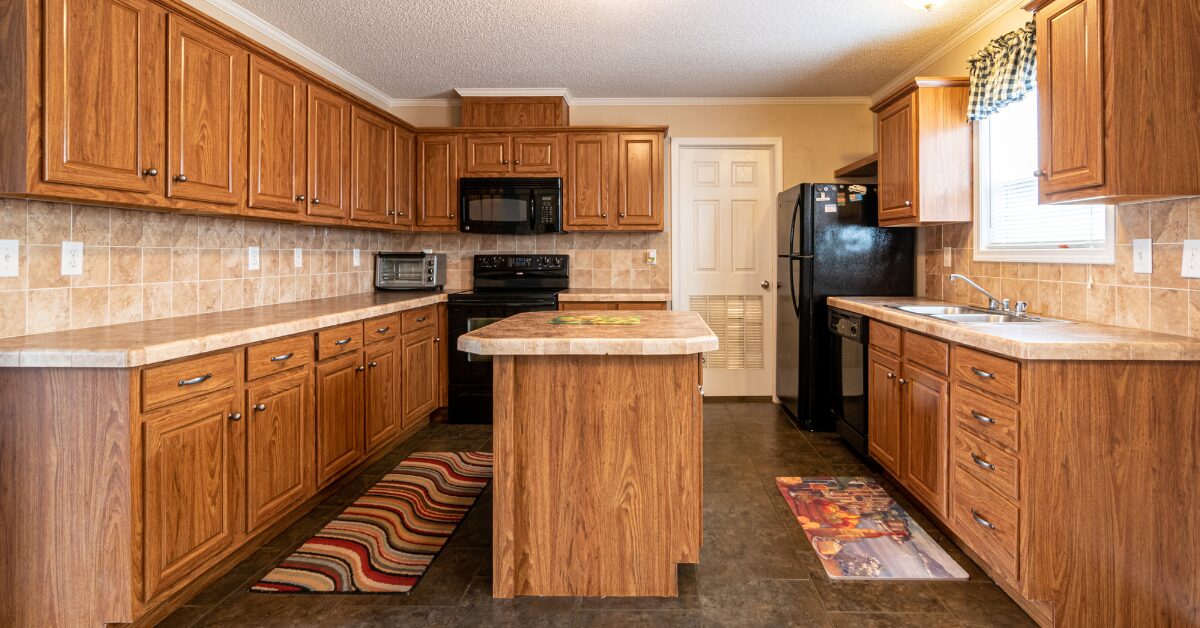
Give your kitchen a makeover without breaking the bank—learn How to Refinish Kitchen Cabinet Doors: 9 Easy Steps and transform your space on a budget.
If your kitchen cabinets look a little worse for wear—scratched, faded, or just stuck in a past decade—but the cost of replacing them makes your stomach turn, you’re not alone.
A complete remodel can eat up your savings fast. Thankfully, there’s a more innovative, affordable way to freshen things up. Refinishing your cabinet doors is a satisfying, budget-friendly project that can transform your kitchen—without gutting it.
The best part? You can do this yourself, even if this is your first time tackling something like this. This walkthrough covers everything from start to finish, with tips to help you avoid the stress.
Why Refinish Instead of Replace?
Let’s be real—replacing cabinets is pricey and wasteful. Refinishing offers some serious perks:
- Cost-effective: You’ll save thousands.
- Eco-conscious: Reuse what you’ve got, cut down on waste.
- Customizable: Choose any color or look you like.
- DIY-ready: No contractor needed.
If the cabinet boxes are solid, replacing everything is unnecessary. Just refinish the doors, and your kitchen will feel brand new.
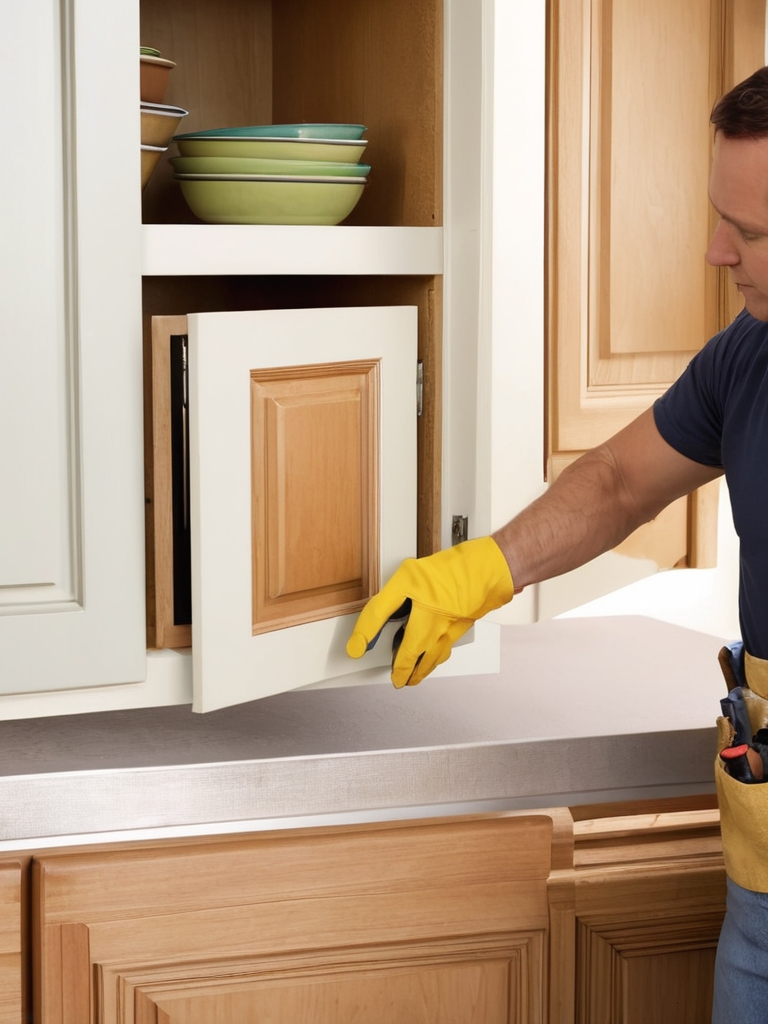
Step 1: Remove Doors and Hardware
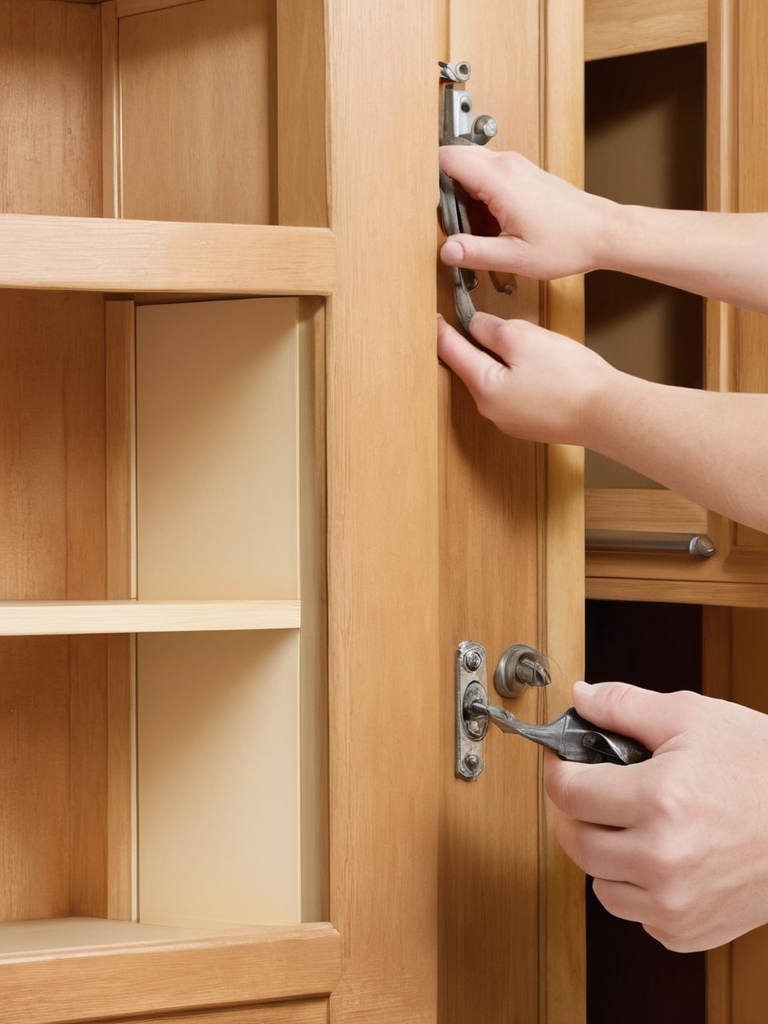
Take off all doors, drawers, and hardware (hinges, knobs, etc.). Drop the hardware into labeled bags so you know exactly where everything goes later.
Pro tip: Use masking tape to mark each door’s location on the back, which will save significant confusion later.
Step 2: Clean Thoroughly
Kitchen gunk builds up fast, especially near stoves and sinks. The surface must be squeaky clean before sanding or painting.
- Use a degreasing cleaner (like TSP or vinegar + water).
- Wipe everything down and let it dry completely.
Skipping this part can mess up your finish later.
Step 3: Sand It Smooth
Here’s where things start to change. Sanding strips off the old finish and gives your new one something to grab.
- Start with 120-grit to dull the surface.
- Then go over it with 220-grit for smoothness.
- Use a sponge or power sander for flat spots. Hand-sand the grooves and edges.
Don’t rush—good sanding = pro results.
Step 4: Fix Any Flaws
Inspect closely. See any dings, cracks, or holes? Now’s your chance to patch them up.
- Apply wood filler to scratches or holes.
- Let it dry, then sand it flush.
This small step goes a long way toward that flawless finish.
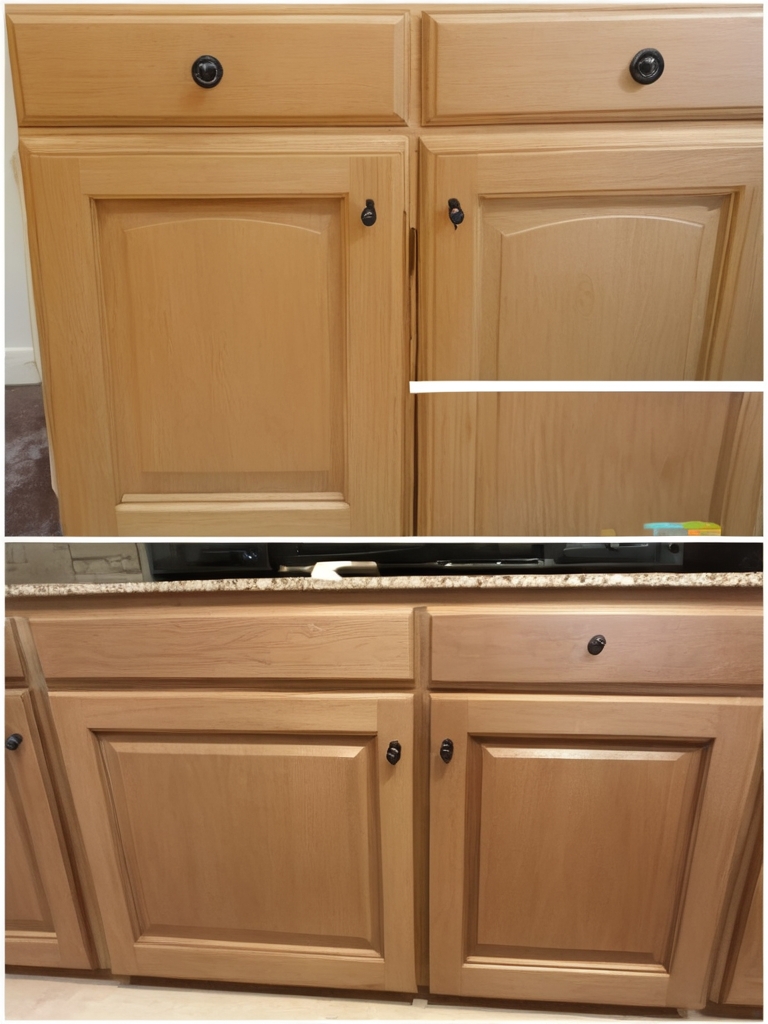
Step 5: Pick a Finish — Paint or Stain?
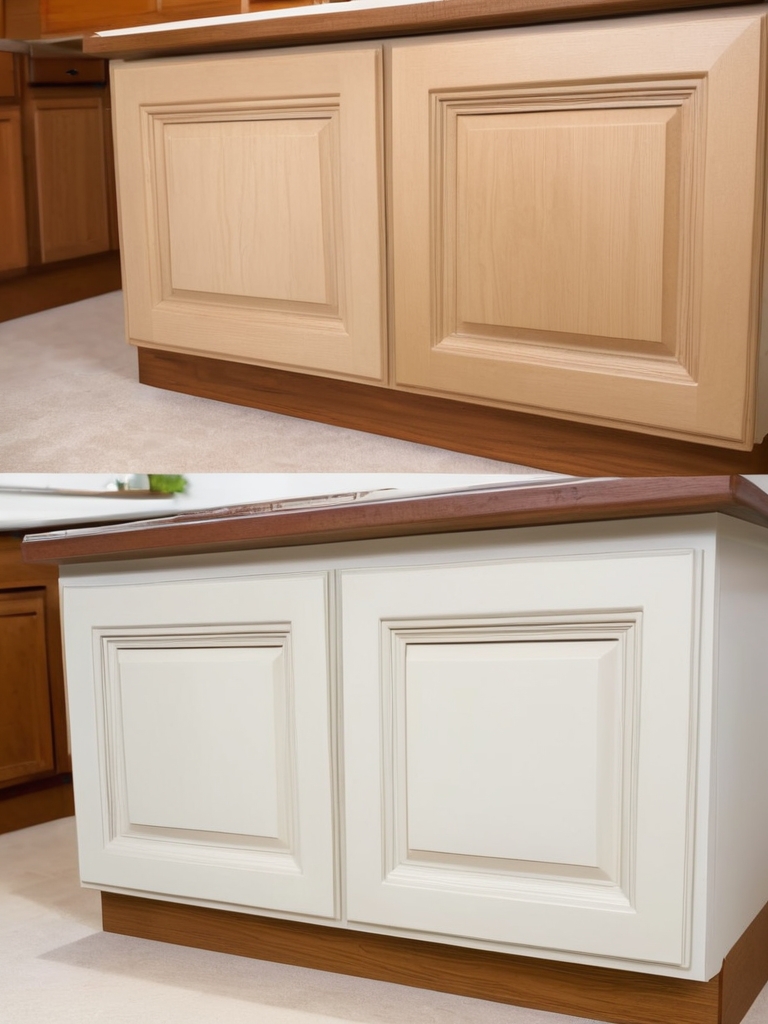
Now the fun part. Want a pop of color or a more natural vibe?
Paint
- Great for modern updates.
- Endless color choices.
- Works best on wood or MDF.
Stain
- Brings out natural grain.
- Ideal for quality wood cabinets.
- Needs more careful application.
Whatever you pick, go with products made for cabinets—they’re built to handle kitchen life.
Step 6: Apply Primer (If Painting)
Painting? Then primer is a must. It seals wood, blocks stains, and helps paint stick.
- Use a stain-blocking primer.
- Brush into grooves, roll the flats.
- Let it dry completely—check the label for timing.
Step 7: Paint or Stain the Doors
Here’s where the magic happens.
Painting:
- Apply two thin coats of cabinet-grade paint.
- Let each one dry thoroughly (usually 4–6 hours).
- Use foam rollers or fine brushes to avoid marks.
Staining:
- Apply with a clean cloth or sponge.
- Wipe off excess right away.
- Do more coats for deeper color.
- Finish with a clear coat for protection.
Patience here makes all the difference—don’t rush drying!
Step 8: Seal the Finish (Optional but Smart)
Kitchens are tough on cabinets—they’re exposed to steam, grease, and daily wear. A topcoat adds a layer of defense.
- Protects from spills and fingerprints.
- Makes cleanup easier.
- Keeps your finish looking fresh.
Paint with water-based clear coat. For stained cabinets, an oil-based finish gives a warm, durable glow.
Step 9: Reattach and Rejoice
Once everything’s fully dry (wait 24–48 hours if you can), reinstall your doors and hardware. Thanks to your labels, everything goes back where it belongs.
Step back and take it all in—you just gave your kitchen a new vibe.
Bonus Tips for a Pro Finish
- Use painter’s pyramids or drying racks to lift doors while working.
- Avoid painting on humid days—it slows drying.
- Take your time. Quick jobs show.
Common Mistakes to Watch For
- Skipping prep (don’t do it!).
- Using regular wall paint—it won’t hold up.
- Painting over greasy spots = peeling later.
- Rushing between coats—hello smudges.
Avoid these, and your hard work will stay looking sharp for years.
Related: 15 Stunning Rustic Outdoor Kitchen Ideas to Elevate Your Outdoor Space
Final Thoughts
Refinishing your kitchen cabinet doors isn’t just a money-saver—it’s a powerful DIY upgrade. You’ll breathe new life into your space and feel proud whenever you walk in.
No need to hire a pro. Just grab your tools, take your time, and enjoy the process. And don’t be surprised if your guests say, “Wait—you did this yourself?”
FAQs: Everything You’re Wondering About Refinishing Cabinet Doors
1. Do I need to sand my cabinet doors before painting?
Yes—totally! Skipping sanding is one of those shortcuts that’ll come back to haunt you. Even if the cabinets look smooth, the old finish or glossy surface can mess with how well your new paint or stain sticks. A quick sanding—nothing too intense—helps the new layer grip better and hang on longer. Think of it like prepping a wall before hanging wallpaper: it’s not glamorous, but 100% necessary.
2. How long does the whole cabinet refinishing process usually take?
It depends on your schedule. If you’re spreading the work out over a weekend or a few evenings, you’re looking at 3 to 5 days from beginning to end. Cleaning, sanding, and letting each coat of paint or stain fully dry eat up the time. But seriously, don’t rush it. Letting everything cure properly will make your cabinets look like you hired a pro.
3. What kind of paint works best for kitchen cabinets?
Go with a paint made specifically for cabinets—usually labeled for kitchens or high-use spots. Water-based alkyd enamel or acrylic urethane are both solid choices. They’re built to handle heat, moisture, and those sneaky grease marks. Regular wall paint won’t hold up—it’ll chip, stain, or fade too fast in a kitchen setting.
4. Can I refinish laminate cabinet doors, or does this only work for real wood?
You can refinish laminate, but it’s a little more delicate. Laminate doesn’t soak in paint like wood, so you’ll need a solid bonding primer to help the paint stick. You can’t stain laminate, but you can still make it look fantastic with the proper prep and patience. Just go easy when sanding; you’re aiming to scuff it up, not sand it down to the core.
5. How do I avoid streaks and brush marks in the finish?
It all comes down to tools and technique. A high-density foam roller is excellent for smooth, even coverage, and an angled brush helps get into corners without leaving a trail. Don’t overload your brush or roller—less is more. Use thin coats, lightly sanding between layers with super-fine (220-grit or higher) sandpaper. Also, give each coat time to fully dry before going in with the next. Patience pays off with that smooth, pro-level finish.

