Have you ever stood at a science fair and thought, “Wow, that board looks amazing—why doesn’t mine look like that?”
With the right tri fold display board, your school project can stand out, grab attention, and impress both teachers and judges
I’ve been there. My first project board was a disaster—crooked titles, tape marks everywhere, and I swear the thing was collapsing halfway through judging. But after a few fairs (and a few embarrassing moments), I learned the difference between a plain piece of cardboard and a display board that actually grabs attention.
This guide is everything I wish someone had told me earlier—real tips, lessons learned the hard way, and tricks that will not only make your board look great but also hold up under pressure.
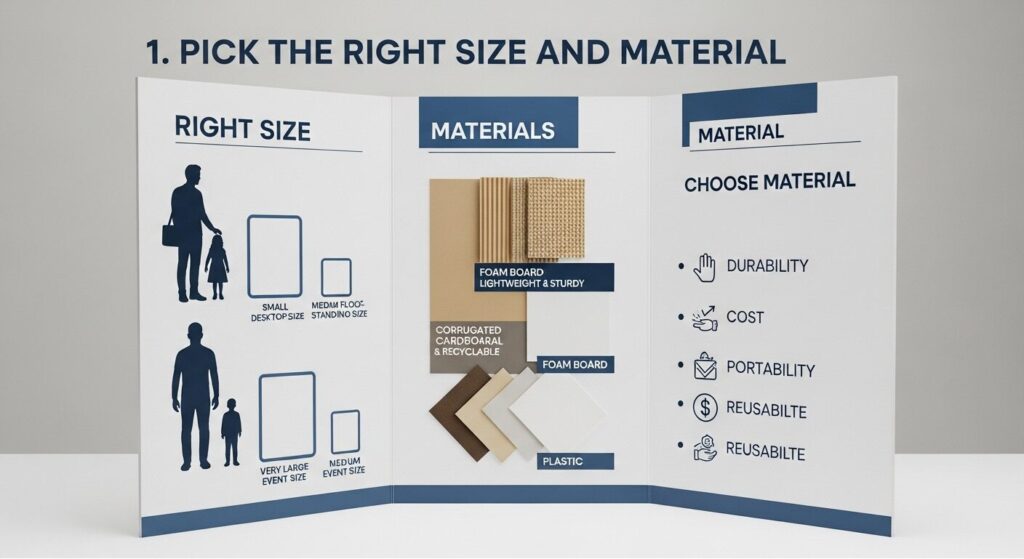
1. Pick the Right Size and Material
Not all boards are created equal.
If you’re doing a big science fair project, go for a larger, sturdier board—you’ll thank yourself later. For smaller classroom assignments, a compact version works fine. Corrugated cardboard is cheap but bends easily. Foam boards? They’re smoother, sturdier, and make everything look just a little more polished.
Quick tip: Think about where you’ll present. A crowded gym full of kids = durable board. A quiet classroom is fine with lightweight materials.
2. Prep the Board Before You Add Anything
Here’s a mistake I made: slapping down glue and pictures without prepping. What happened? Everything peeled off halfway through.
Now, I always:
- Wipe the surface to remove dust.
- Lightly scuff glossy boards so the glue sticks.
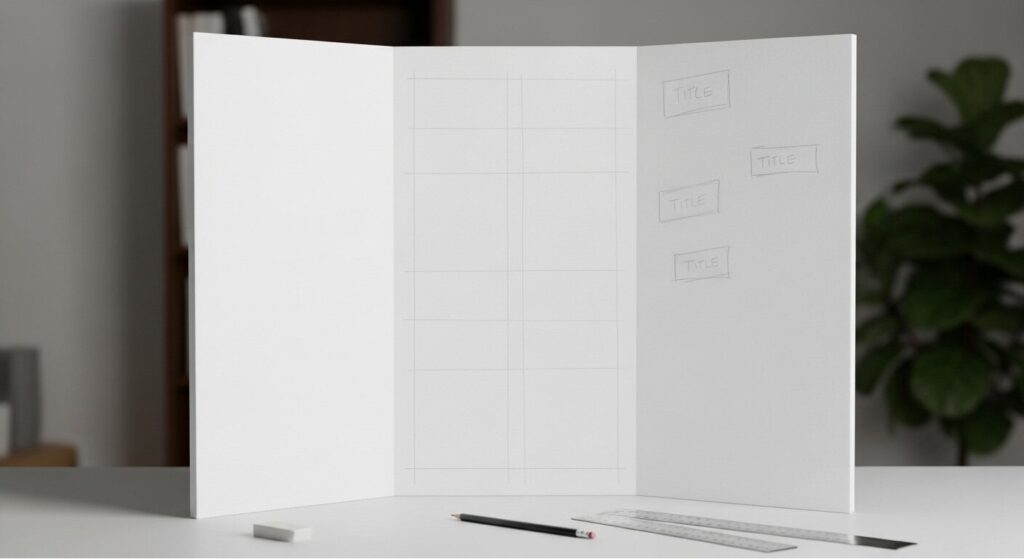
- Sketch faint pencil lines to guide placement.
It feels boring, but it saves you from the horror of titles sliding down your board in front of the judges.
3. Plan a Layout That Tells a Story
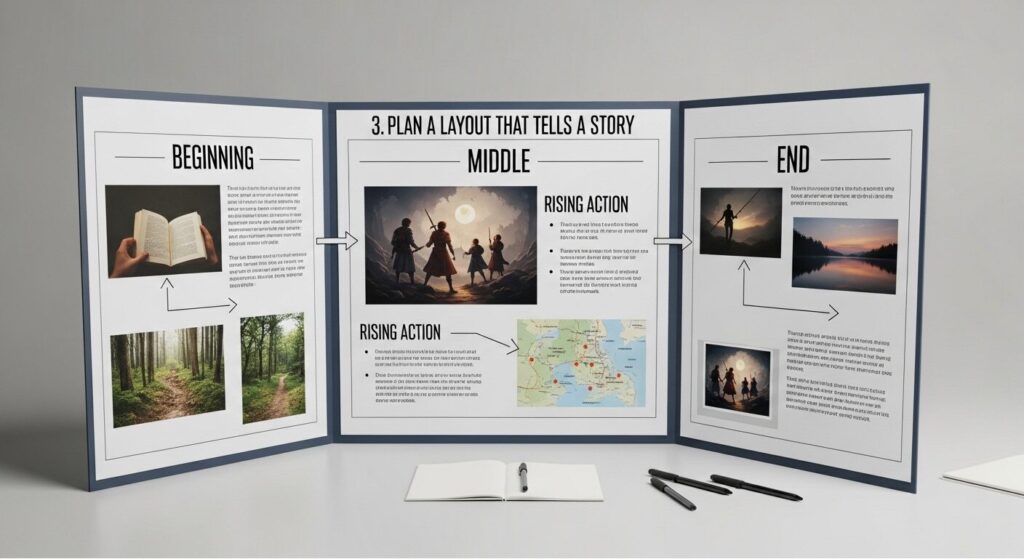
One year, I thought, “I’ll just throw stuff wherever.” Big mistake. The result looked like a scrapbook explosion.
Instead, think of your board as a story:
- Middle panel: Your project title + main idea.
- Left panel: Intro and background.
- Right panel: Results, charts, and conclusion.
Judges should be able to “read” your board left to right without squinting or getting confused.
4. Use Bold Titles That Pop
I cannot stress this enough: big, bold titles = instant attention.
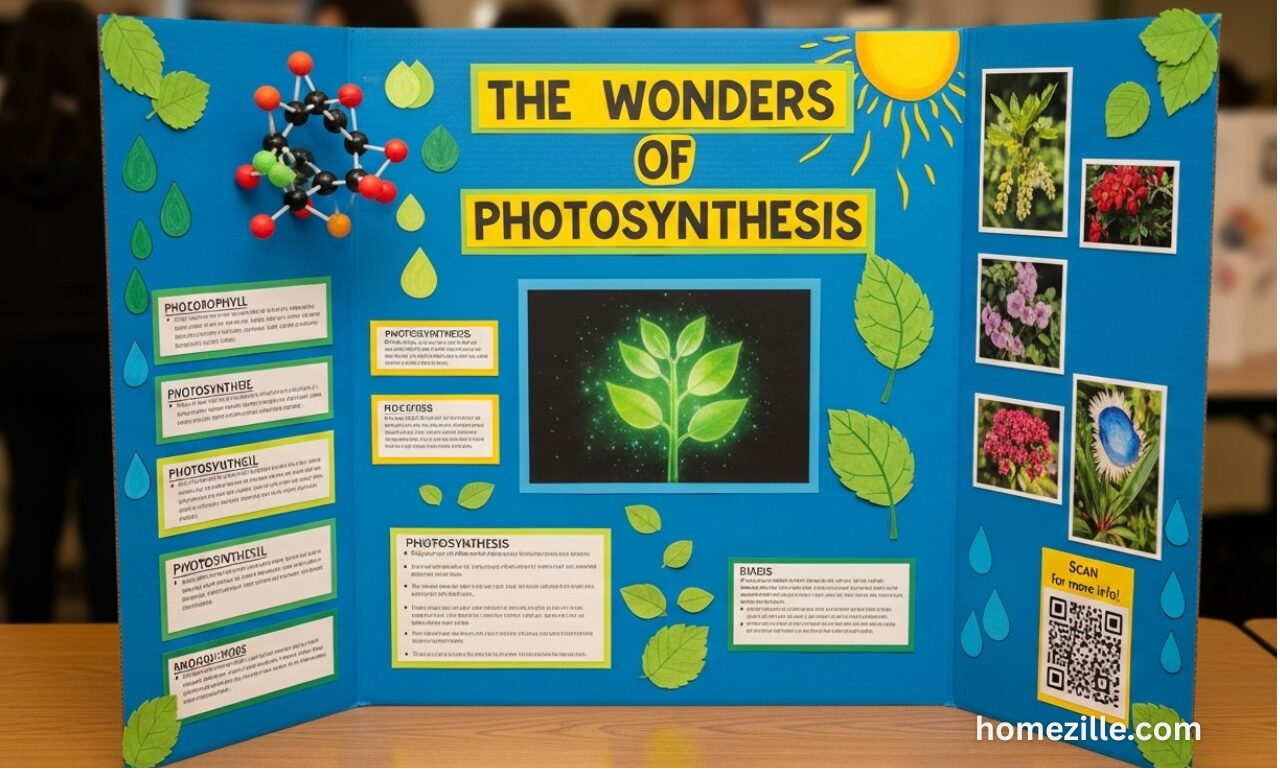
Cut letters out of poster paper, use stencils, or print fonts that contrast with your background. Short and clear titles work best. Don’t write “The Effects of Photosynthesis on Plant Growth Over a Two-Week Period.” Just go with “Photosynthesis and Plant Growth.”
Rule of thumb: If someone can’t read it from 6 feet away, make it bigger.
5. Add Decoration—but Don’t Go Overboard
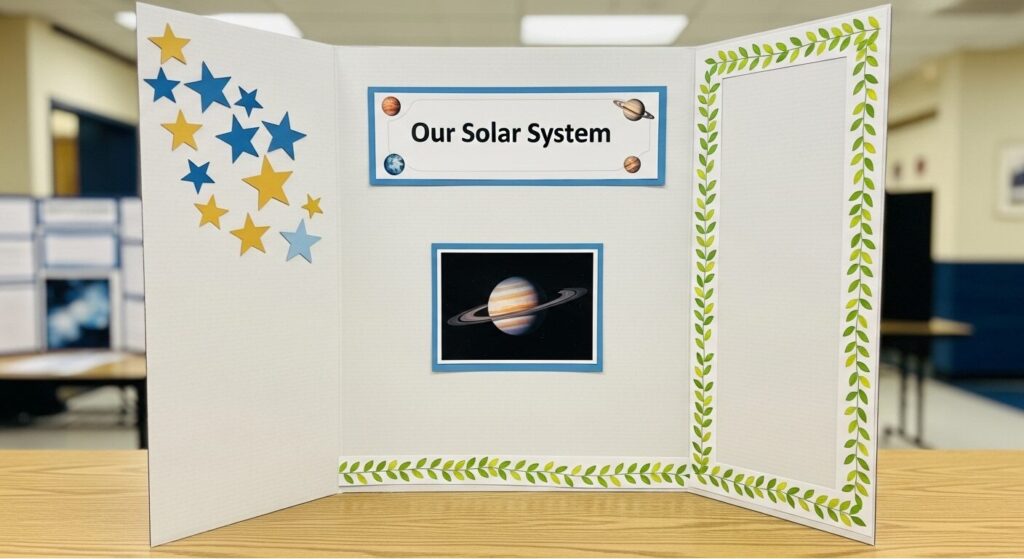
A plain board looks… well, plain. But too much glitter? Trust me, you’ll regret it.
The decoration ideas that can work include:
* Colored borders or washi tape
* Background paper behind text boxes
* Small stickers or icons to highlight points
Balance is everything. Some imagination spruces up your board. Excessive, it makes it appear like a craft store burst.
6. Organize Text and Images Neatly
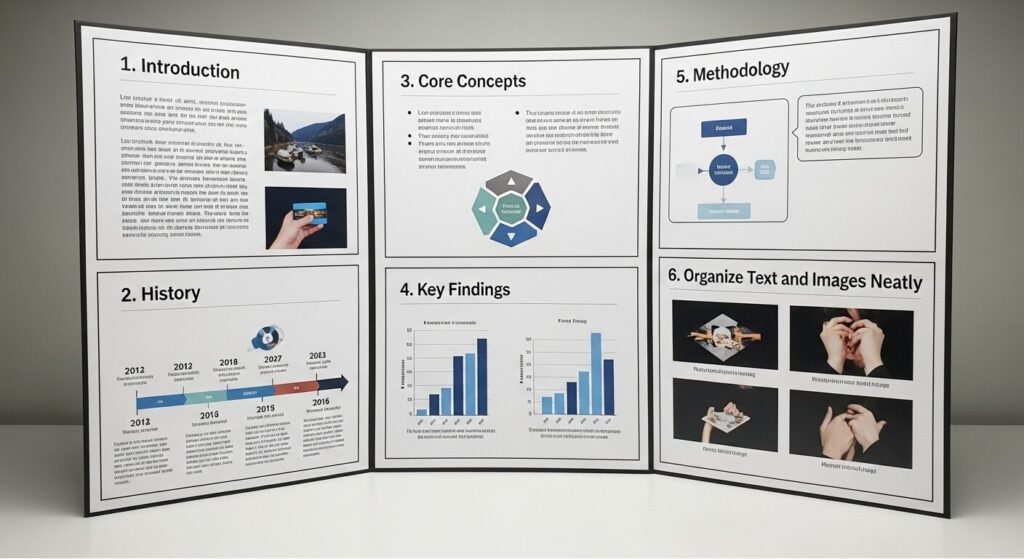
One of my boards once resembled a ransom note—text and pictures affixed wherever they fit.
Here’s what fixed it:
- Mount text on colored paper for contrast.
- Line up pictures evenly.
- Use arrows or lines to guide the reader’s eye.
- Leave some white space. (Crowded boards = confusing boards.)
Neatness matters more than you’d think.
7. Pick a Color Scheme That Works
Wonder what the secret to the best-looking boards is? Consistent colors.
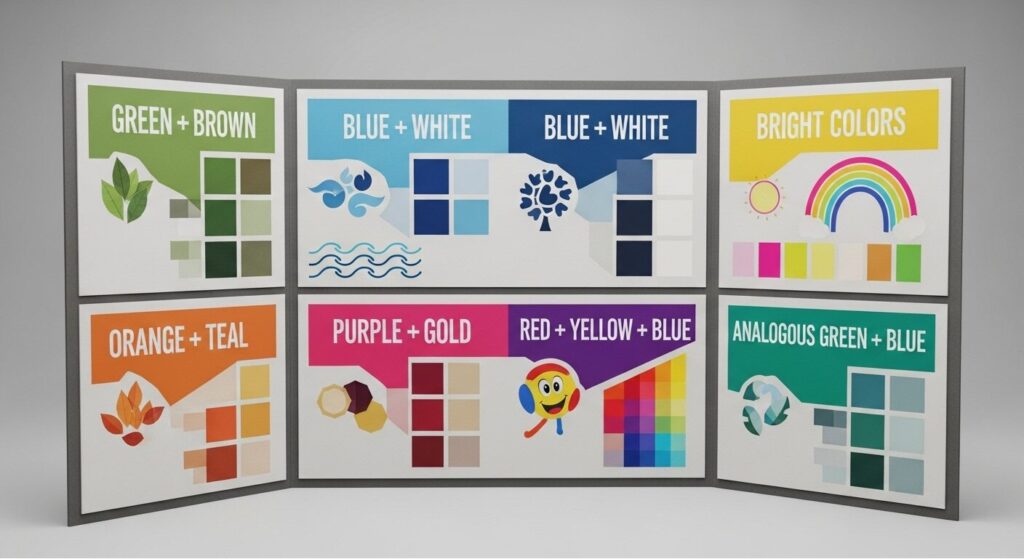
Select 2-3 colors that are appropriate to the theme of your project:
* Green + brown for an environmental project.
* Blue + white for a water or science project.
* Bright colors for creative/art projects.
Stick to them. Too many colors = chaos.
8. Tools That Make Life Easier
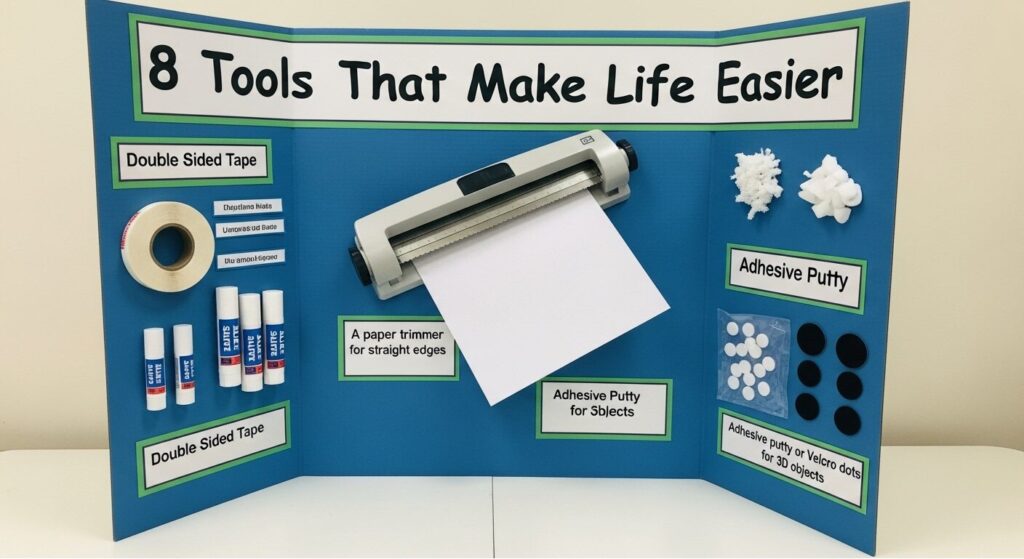
The right supplies make all the difference. I used to struggle with jagged scissors and clumpy glue. Now my kit always includes:
- Double-sided tape or glue sticks (no messy blobs).
- A paper trimmer for straight edges.
- Adhesive putty or Velcro dots for 3D objects.
Little things = a cleaner, more professional board.
9. Make It Durable for Transport
One year, I carried my project on the bus. By the time I arrived at school, the board looked as if it had been through a tornado.
Solution? Reinforce the back with cardboard strips, store it flat, and (if possible) carry it in a tote bag or board carrier. Judges notice when a project looks “fresh” versus “beat up.”
10. Add Interactive Features

If you really want to stand out, add something interactive. I once saw a kid attach a QR code that linked to a video of his experiment—brilliant.
Other ideas:
- A pocket with handouts
- Flap cards with hidden info
- Moving parts (spinners, sliders, etc.)
It makes people stop, engage, and remember your project.
11. Present Charts and Graphs Like a Pro
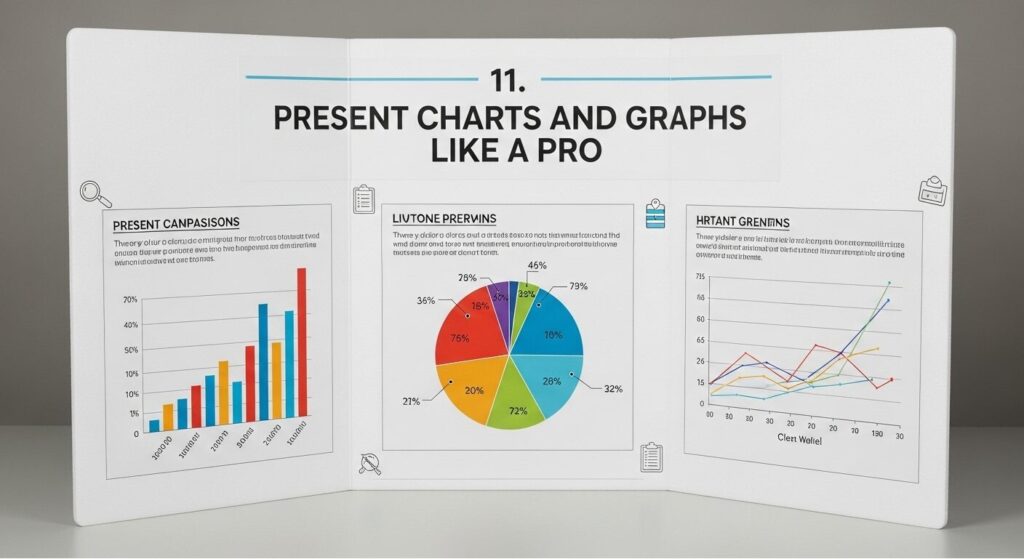
Charts can look boring if you just print them on plain paper. Instead, mount them on colored paper or laminate for a polished finish.
And don’t be afraid to angle them slightly—it adds personality without hurting readability.
12. Step-by-Step Setup
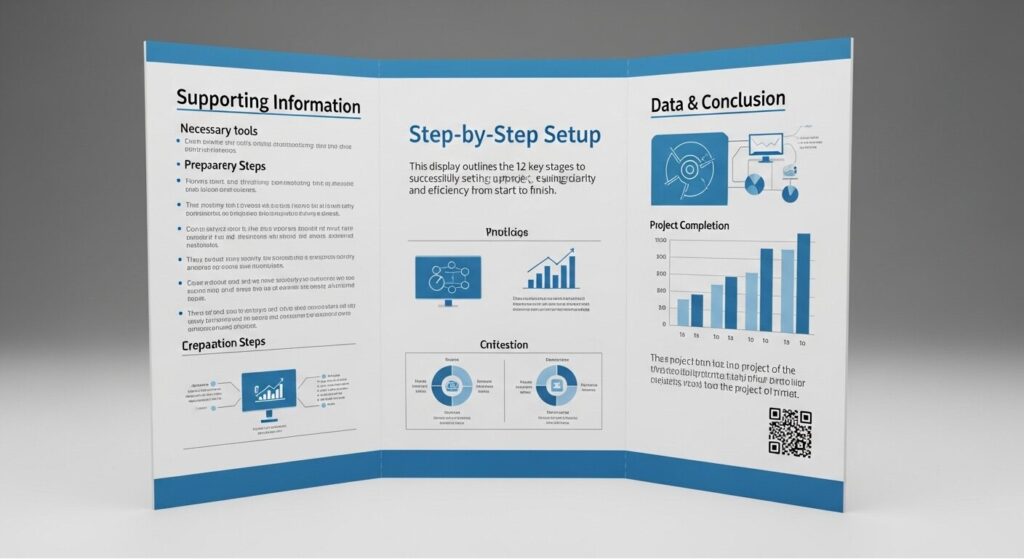
When it’s presentation day, I always follow this checklist:
- Title in the center.
- Intro underneath.
- Supporting info on the left.
- Data and conclusion on the right.
- Visuals and extras last.
That way, I don’t panic at the last minute trying to squeeze things in.
13. Mistakes to Avoid
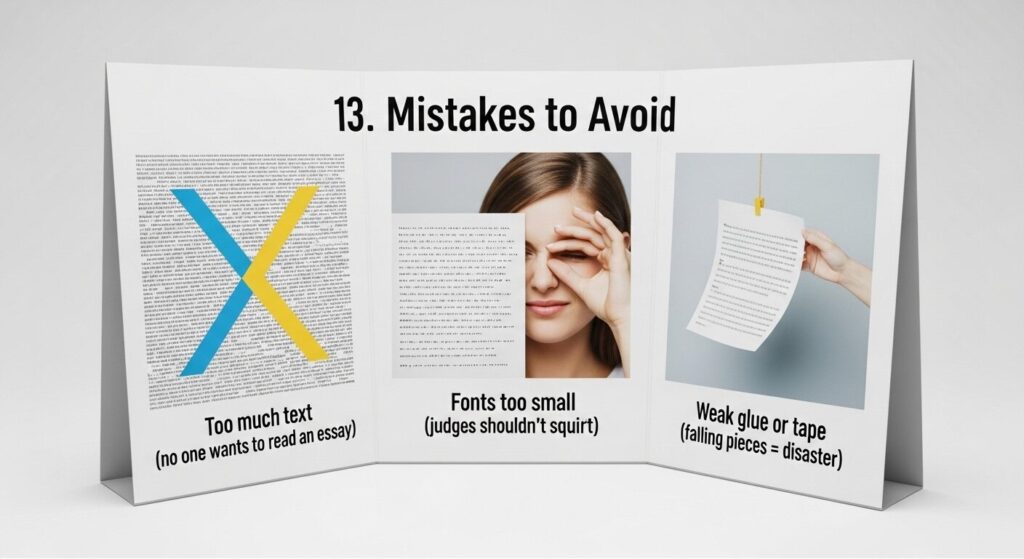
- Too much text (no one wants to read an essay).
- Fonts too small (judges shouldn’t squint).
- Weak glue or tape (falling pieces = disaster).
Learn from my mistakes, and your board will hold up beautifully.
14. Budget-Friendly Upgrade Hacks
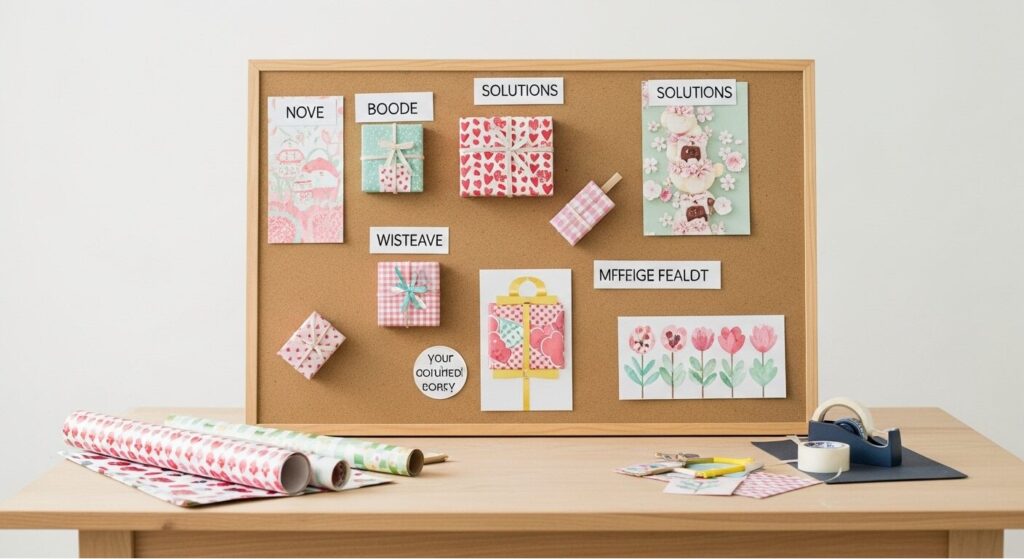
You don’t need to spend big to look polished. Some of my favorite hacks:
- Use wrapping paper as a background.
- Dollar-store craft tape for borders.
- Reuse an old board by covering it with fresh paper.
Creativity > money every time.
15. Confidence Boost
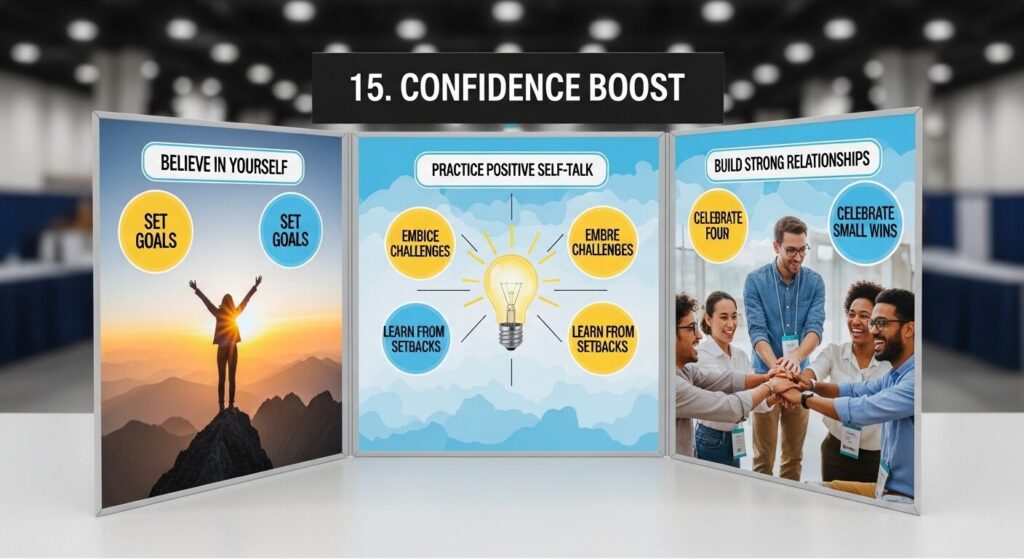
The right board doesn’t just show your project—it shows your effort, creativity, and confidence. And that confidence? Judges notice it.
Related: 15 Creative Pop Up Shop Display Ideas to Boost Sales Fast
Final Thoughts
A tri fold display board isn’t just cardboard—it’s your stage. With the right size, layout, colors, and decorations, you can turn your hard work into a project that shines.
So don’t just glue things and hope for the best. Plan it, decorate it, and make it yours. Because when your board looks professional, you walk in ready to impress—not just with your project, but with yourself.
